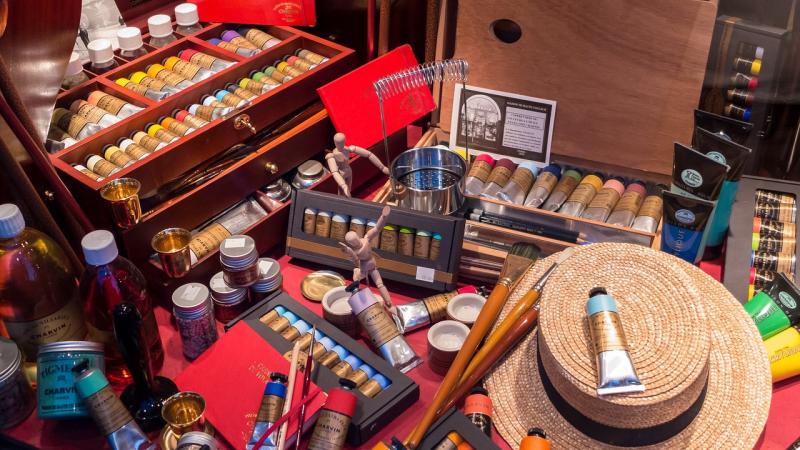
Let’s talk about keeping your art supplies organized. A tidy space can spark your creativity and make your art sessions way more enjoyable. Here are some simple tips to help you get your supplies in order.
Start by sorting everything into categories. Gather your paints, brushes, papers, and tools separately. This way, you can see what you have and what you might need to restock. It’s super helpful to know if you’re running low on your favorite paint color or if some brushes need replacing.
Next, use storage containers or caddies. Shoe boxes, old jars, or plastic bins work great for this. Label them if you can, so you know exactly where to find things. Stack and arrange your containers on shelves or in drawers, keeping the items you use the most at the top or the front.
Don’t forget to make use of vertical space. Wall-mounted shelves or pegboards can hold your supplies and free up desk space. Hang your brushes, display your paint palettes, or even pin reference images for inspiration. It keeps everything visible and easily accessible.
Finally, set aside some time every few weeks to tidy up. Clean your brushes, refill your supplies, and reorganize as needed. A quick check-up on your art corner can save you time and frustration later on. Keeping everything neat not only helps you find what you need but also makes you feel good about creating!
Cleaning Techniques for Different Materials
Keeping your art supplies clean is super important for getting the best results. Different materials need different cleaning techniques, so let’s break it down. Whether you’re working with brushes, palettes, or canvases, a little know-how goes a long way!
1. Paintbrushes: Start by rinsing your brushes right after using them. For water-based paints, warm water is your best friend. Just swish the brush in the water until it runs clear. Use a gentle soap if you’re dealing with oil paints—make sure you really work it into the bristles and rinse thoroughly. Never leave paint to dry in the bristles; it creates a mess that’s tough to fix!
2. Palettes: How you clean your palette depends on what you’ve been using. For acrylics, a quick scrape with a palette knife will remove most dried paint. Pop them in warm, soapy water for a good soak afterward. If you’re working with oils, you’ll need to wipe down with a paper towel first and use a solvent to remove any stubborn bits. Always follow up with soap and water!
3. Canvases: If you’ve got a finished piece, skip the cleaning—just let it be! But if you’ve been using a canvas that’s not quite right, use a gentle, damp cloth to wipe off any dust or smudges. Avoid soaking it too much; too much moisture can damage the surface. For layered paint, you might consider using a soft brush to remove any loose bits before framing your masterpiece.
Keeping your art supplies tidy doesn’t take much time. A few quick steps after each session can make your art life a lot easier, letting you focus on what you love: creating!
Best Storage Solutions for Art Supplies
Keeping your art supplies organized can be a game changer for your creative process. Whether you’re a painter, a drawer, or a DIY enthusiast, having a solid storage solution helps you find what you need when inspiration strikes. Here are some top options to consider:
1. Storage Totes
These are great for anyone who likes to keep things mobile. Storage totes come in various sizes and are perfect for storing paints, brushes, and papers. Look for ones with sturdy handles and lids to keep dust out. You can easily take them to your next art class or hobby night!
2. Drawer Organizers
If you have a designated art space, drawer organizers can really tidy things up. They’re perfect for sorting pencils, markers, and small tools. Try to get organizers with adjustable compartments so you can customize them based on what you have.
3. Clear Storage Bins
Clear bins let you see exactly what’s inside without having to dig around. They’re awesome for larger items like pads of paper or rolls of canvas. Stackable options can save space and help keep your area looking neat.
4. Art Supply Carts
Art carts are super trendy and functional. With wheels and multiple layers, you can roll them around your studio or kitchen table. Use them to store frequently used items, and keep your workspace clutter-free!
These storage solutions not only help keep your supplies fresh but also make it easier for you to get creative. Choose what works for you and get ready to make your artwork shine!
Keeping Your Workspace Tidy and Inviting
Consider setting up a cleaning routine. Take a few minutes at the end of your art session to wipe down surfaces and put supplies back where they belong. This small habit can keep your workspace looking fresh and make it easier to jump right into your next project without any distractions.
Don't forget about the little details that make your space inviting. A cozy chair, a small plant, or some fun artwork can add personality to your workstation. Good lighting is also key; natural light is ideal, but a bright desk lamp works wonders too. An inviting space often inspires more creativity and makes it easier to spend time working on your art.
Finally, periodically reevaluate your supplies. Toss out dried-up paints and broken brushes. It’s amazing how light and airy a space can feel when you let go of stuff that no longer serves you. A well-organized and tidy workspace not only boosts productivity but also enhances your enjoyment of the art-making process.